In this lesson, you’ll have fun learning how to create 3D objects using a 3D printing pen!
PROJECT OVERVIEW
3D printers are quite an amazing tool in the designing/prototyping process. As amazing as they are, some can be complicated in maintaining the printer in working condition. This is where 3D pens come in.
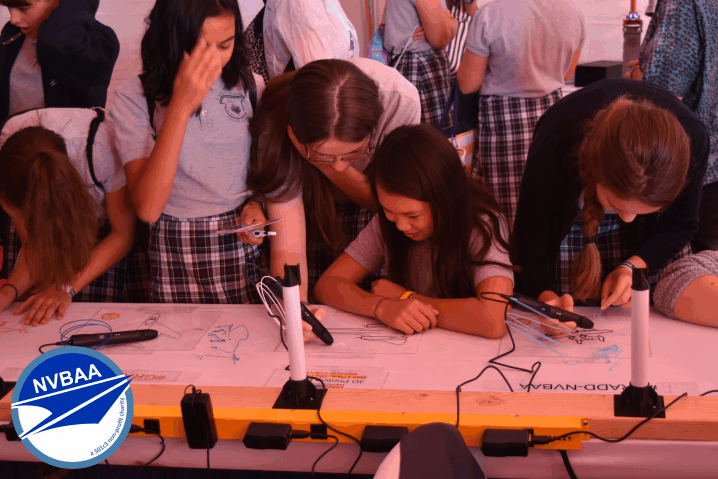
A 3D pen is like a handheld 3D printer. It works by heating a plastic filament to its boiling point so you can create shapes. This is similar to how a hot glue gun works. Unlike the 3D printer, you have more creative influence over the device. In this tutorial, different projects involving a 3D pen have been created for you to use. Each of these projects will include a template for you to follow. Don’t be afraid to add your own spin to it!
PROJECT MATERIALS
These are the materials that will help you get started on the following projects:
• 3D PEN
• You can search Amazon for great deals. Some 3D pens are made into a starter kit that includes everything you need to get started! We have selected a few popular 3D pens where we’ll discuss what is included.
• PLASTIC FILAMENT
• If you follow this link, it will lead you to a filament sample kit. We will go over the different options of filament.
• 3D PRINTING PEN MAT
• You can search for a silicone design mat like this one. Laminated paper works as well.
• CUTTERS/SCISSORS
• After your filament cools down, using some cutters or scissors will help in cutting off the plastic ends.
• 3D TEMPLATES
• Choose a template from below that catches your attention, download it and print it to get started!
PROJECT OUTLINE
Section 1: WHAT SHOULD I GET? AND HOW DOES IT WORK?
In this section, you’ll know what 3D pen you should be getting based on your level, the type of filament you can use, and how your 3D pen works. You’ll also be learning basic troubleshooting tips as well.
Section 2: THE FIRST LAYER IS IMPORTANT! (BASIC 3D PRINTING TECHNIQUES)
In this section, you’ll learn some essential techniques for your 3D pen. You’ll learn how to create outlines, provide support to your prints, and choosing the right infill. There is also a mini-challenge at the end of this lesson.
Section 3: THE GOOD STUFF! 3D PEN PROJECTS
In this section, you’ll find some pre-select projects for you to challenge yourself. Each project will have steps for you to follow along.
SECTION 1
STEP 1: SELECTING A 3D PRINTING PEN
There are several different types of 3D printing pens to choose from. Most of them follow the same basic design but they all vary slightly in their features. When selecting a pen you should consider things like:
What filaments does it support?
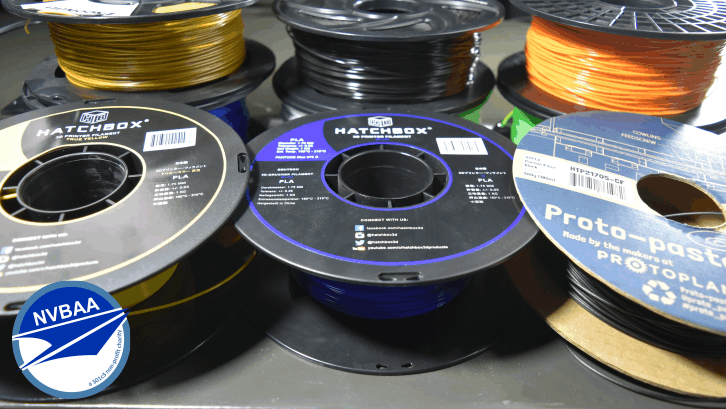
There are numerous types of filaments such as PLA, ABS, metallic, wood-type, carbon fiber, elastic, etc. Each one requires different temperatures and speeds.
Are the temperature and speed settings adjustable?
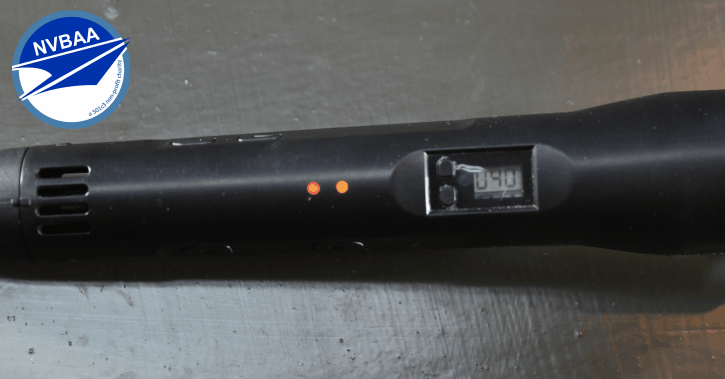
This is important because if you wish to use other types of filaments besides the standard ones, you’ll need to be able to change the pen’s temperature.
Does it come with additional accessories?
Some pens include a stand to prop your pen up. Others have a cap as a precaution to avoid accidental burns. Some pens can even be powered by USB.
Here is a quick comparison of some of the most popular 3D pens:
- Price: $20.63
- Filament: 1.75mm PLA/ABS
- Temperature: 3 modes/precise temperature
- Speed Control: Adjustable slider
- Power: A/C adapter
- Accessories: 1 3D pen stand, replaceable nozzle
The Willstar Magic 3D pen is a great starting pen for beginners with its simplicity. It covers the basics of a 3D pen without overwhelming the user with other functions. Changing the temperature to match the filament can be made with the press of a button.
- Price: $39.99
- Filament: 1.75mm PLA/ABS
- Temperature: 3 Modes
- Speed Control: Adjustable slider
- Power: A/C adapter/USB
- Accessories: Replaceable nozzle
The MYNT3D Super 3D pen is a great pen for its accuracy. It comes equipped with all the essentials as well as an adjustable slider to fine-tune the flow of filament for your project. There are 3 modes of temperature control, best suited for different filaments, however, it can be quite tricky to change the temperature.
- Price: $59.99
- Filament: 1.75mm filament
- Temperature: Precise control
- Speed Control: Adjustable slider
- Power: A/C Adapter/USB
- Accessories: Replaceable nozzle, OLED display
MYNT3D’s “professional line” is quite the step-up from its predecessor. With a precise control feature, this pen can range from 160-240 degrees Celsius! Meaning this pen can tackle almost any type of filament.
STEP 2: CHOOSING THE RIGHT FILAMENT FOR YOUR PROJECT
As mentioned before, there are different types of filaments that require different temperatures and speeds to extrude out. For example, Nylon is a strong and durable filament, perfect for 3D printed parts. However, it requires a high temperature that most pens cannot reach. Some filaments, like carbon fiber filament, have chopped carbon fiber pieces infused with PLA. Because of the chopped pieces, it is abrasive to 3D pen nozzles.
With so many to choose from it can be overwhelming to choose the right one. I recommend starting with regular PLA filament, such as this one. It has plenty of color choices for your projects. If you have a specific color in mind, the previous portions may not be enough. For that, we recommend buying a filament roll. While these are primarily used for 3D printers, these rolls are much more cost-effective for one color.
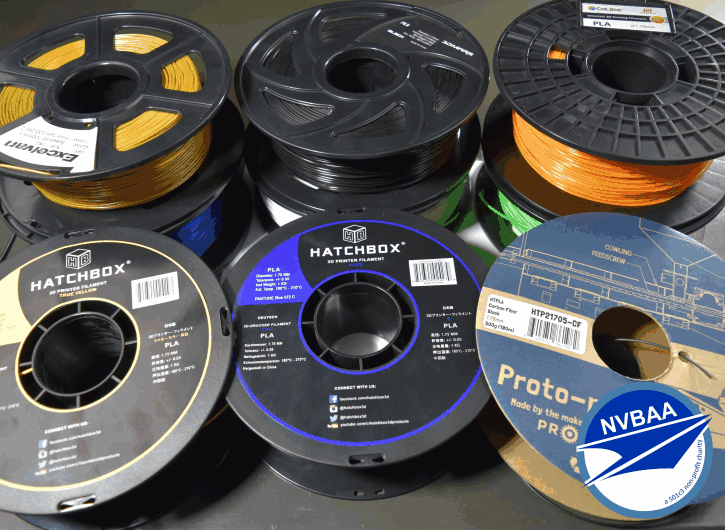
Once you have more control over how your 3D pen works, you can begin experimenting with other types of filaments.
STEP 3: HOW YOUR 3D PEN WORKS
Now some pens may slightly differ, all of them have the same process of using them. Once there is power and the pen is on, there is a small wait time before it can be used. This is simply heating the pen.
• Be cautious where you leave your pen and when you grab it. The tip of the pen can become very hot and could cause burns. (Some pens can reach 220 degrees Celsius! [428 degrees Fahrenheit])
If your pen can change its temperature, check to see if you are using the correct range for your filament. PLA can range from 185-200 degrees Celsius, while ABS has a range of 110-225 degrees Celsius.
Once it has reached optimal temperature, your pen should indicate to you that it is ready. Place your filament in the wire loading hole of your pen. Locate and press the wire feeding button to feed the filament. Once you see filament oozing out of the pen you can stop.
• Some pens have a button or slider to control the rate of flow of your pen. Changing the speed of the flow can be beneficial to your prints. For example, a slower speed can help make precise outlines without overflowing your pen. Switching to a faster speed can help fill in the inside of a print.
• Once you are done or want to switch colors, use the wire unloading button. It’ll reverse the filament allowing it to be pulled back out.
STEP 4: MAINTENANCE AND TROUBLESHOOTING
To keep your pen running smoothly and keep errors to a minimum, follow these quick guidelines:
1. Always check the condition of your filament. The filament can go “bad” if left out in the open. No, it won’t spoil like milk but it can absorb moisture, causing it to become brittle. The brittle filament can break up inside the pen and clog it up.
2. Be careful when extruding and retracting the filament. Forcibly pushing or pulling can lead to damaging the small gears in the pen.
3. When you are done working with your pen, make sure to unload the filament from the pen before boxing it away. Leaving melted filament inside will harden which could lead to a clog inside.
a. Make sure to also clean the nozzle when it’s not so hot. It’ll prevent any buildup and make your prints much cleaner.
Despite our best efforts, sometimes our pens have a bad day. If your pen isn’t extruding filament follow these quick steps.
1. Check the filament for any bends or blobs on the ends. Bends and blobs can prevent the filament from reaching the heating chamber. Just cut off after the bend or blob. The filament should now have a clean straight cut.
2. If the filament is inside the pen try raising the temperature if possible. It’ll soften the hardened filament inside so it can finally be pushed out. Use a little force if you have to.
3. If it’s still not coming out try removing the nozzle of the pen. Some pens have a removable nozzle for such an occasion. If your pen does not have a removable nozzle, go onto the next step. Some have a screw nozzle, where you twist to untighten. Most have a double-clip, pressing both to release the nozzle. With the nozzle off, heat the nozzle with a heat gun to soften the filament. Then use some pliers to pull the filament out.
4. If the filament still won’t come out, you may need to disassemble it. These steps are quite advanced and require some more tools. Look out for a future tutorial in which we show how to disassemble some 3D pens.
SECTION 2
STEP 5: THE BASICS
Now I understand, you want to get started on your projects and see them come alive, but first you need to walk before you can run. Below are some practice steps for you to follow. These include outline techniques, support techniques, and basic 3D shapes.
OUTLINES
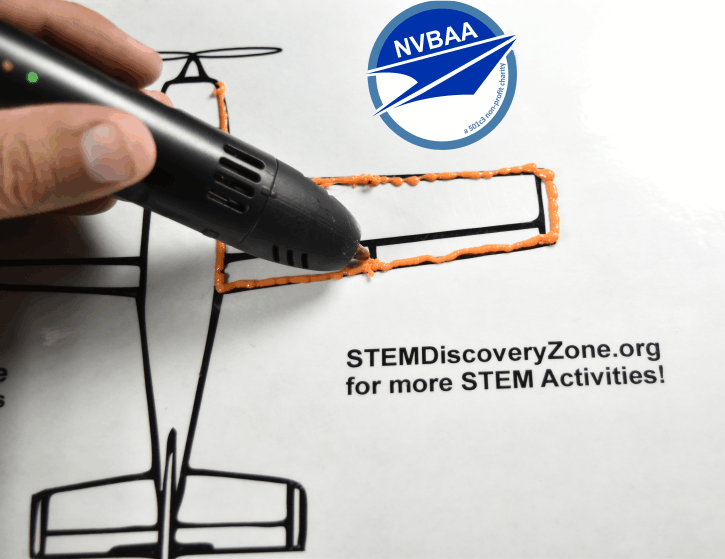
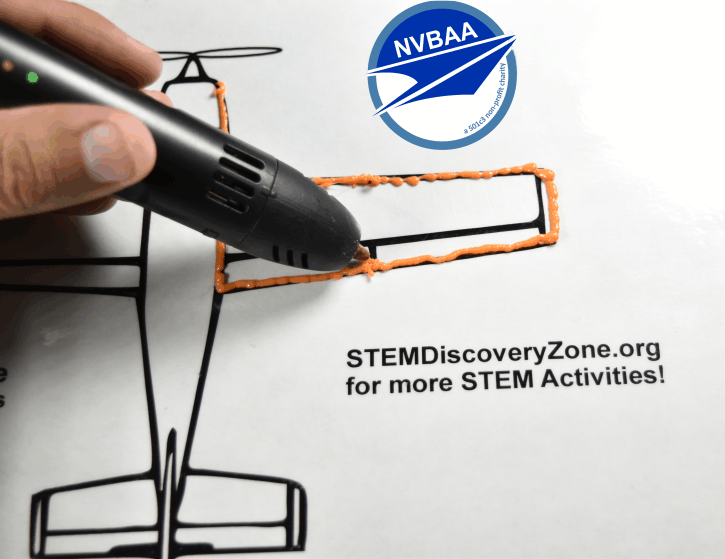
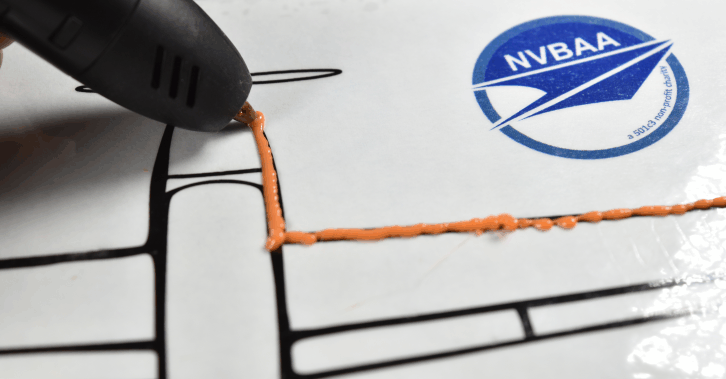
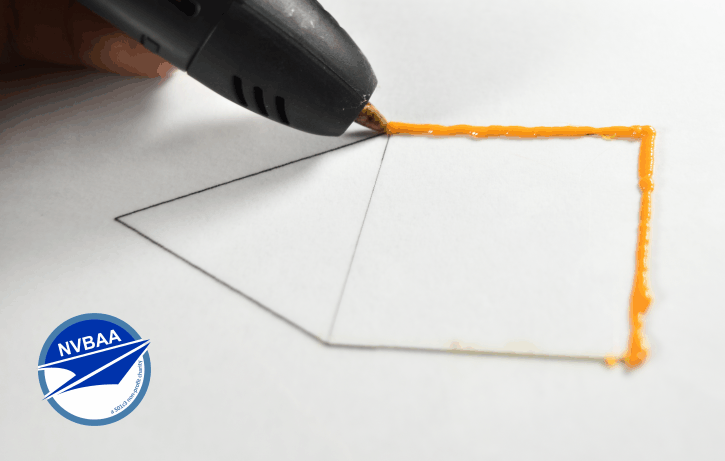
• When starting a new line of filament, be aware of the direction you are going. It’s best to go with the flow of the filament, almost as if leaving a trail of filament. Looking at the left image, you can see a full line of filament.
• If you go against the flow of the filament, you’ll smudge the filament making it messy and brittle when it cools down.
REMEMBER: You can always rotate your template or drawing pad so all sides of your print go in the same direction.
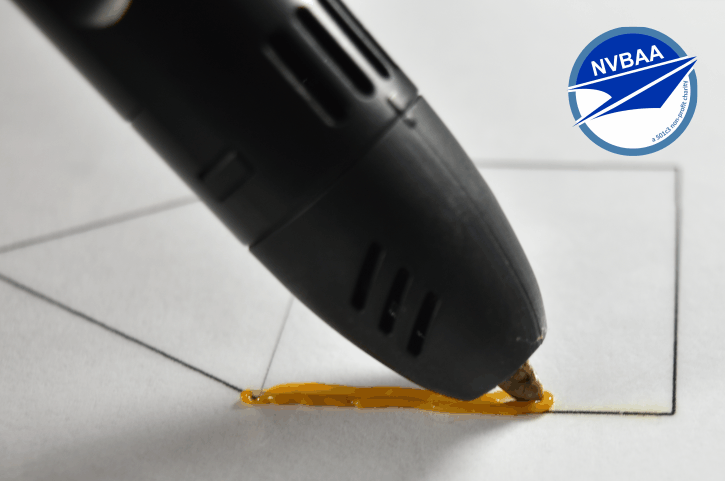
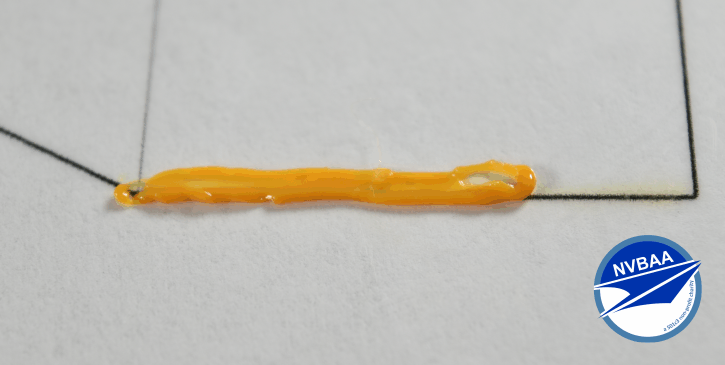
• Smudging can also occur when the nozzle is too close to the surface. If you are too far away from the surface, the filament will begin curly and stick to the nozzle instead of the surface. Experiment with different heights from the nozzle to the surface to better understand your pen. You may just find new techniques for your prints.
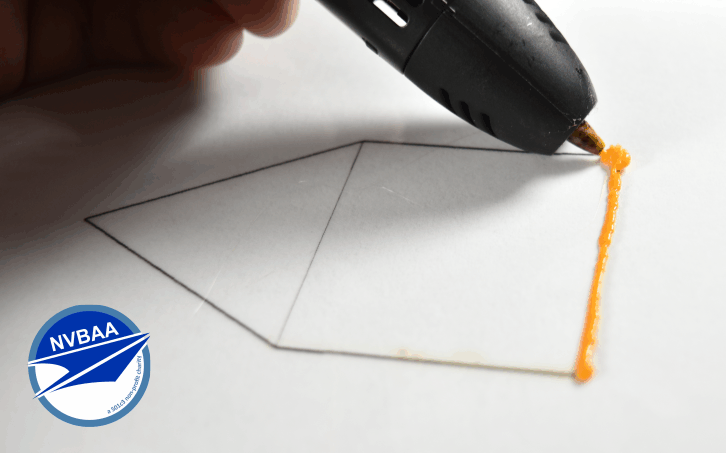
• When making a new line or corner, keep the flow continuing until you reach the stop point. Then pause the flow and wait a few seconds (2-3), and lift the pen. This will make a clean end and prevent strings from forming.
SUPPORT INFILL
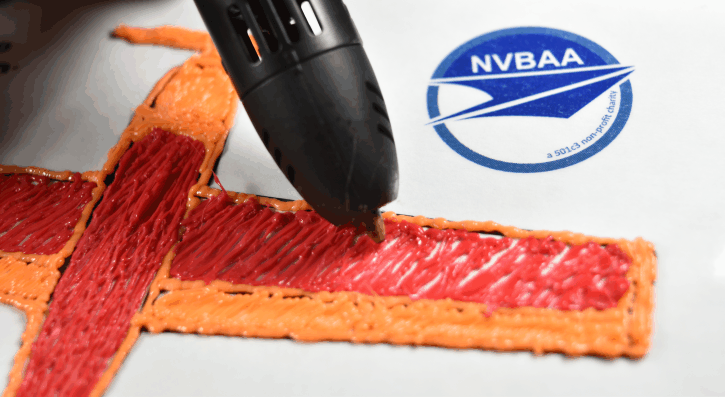
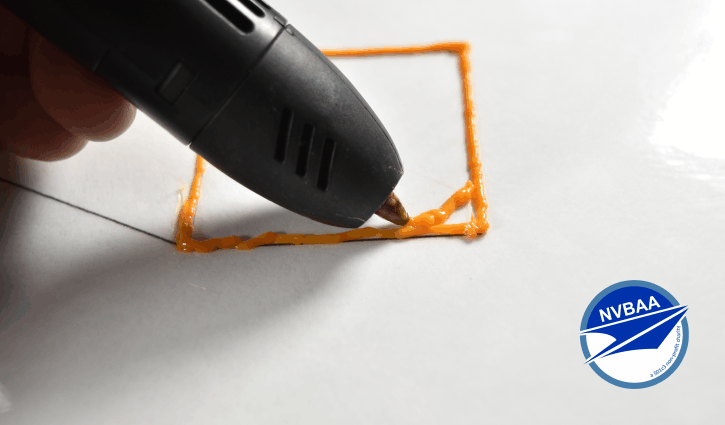
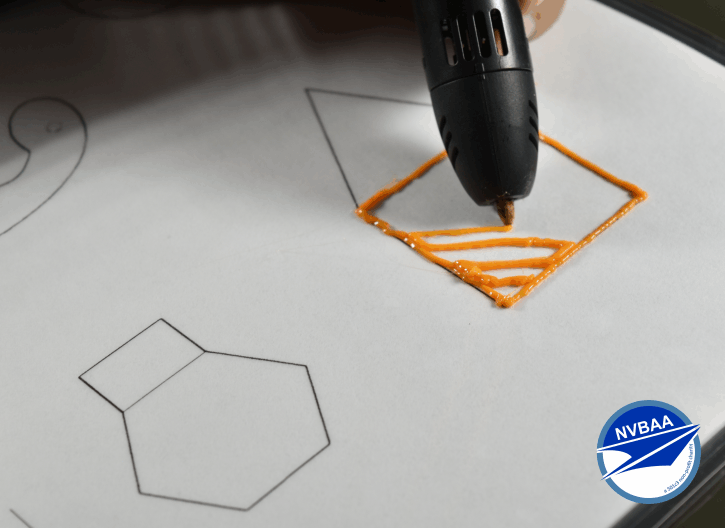
• When you start creating the face of your project, Filling in the face can be quite tedious but it is very important. One of the basic techniques for supporting infill is the “diagonal infill”. It connects the edges of your print without using too much filament. Begin by starting on the outline(edge) and draw diagonally to the adjacent line. Use the images below to help you.
• Depending on your project, the supporting infill may change.
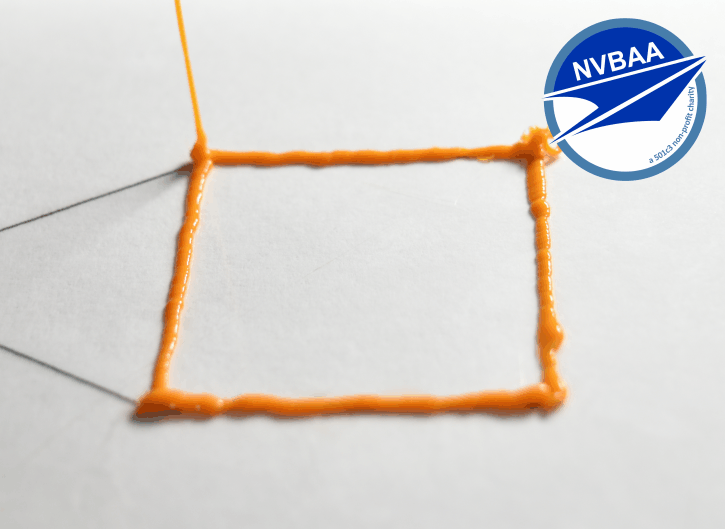
• If a part requires it to be thicker, add extra lines to your outline to keep the infill from going outside your outline.
Extra: Try making a cube in the air! Start by drawing a square on your mat followed by drawing up from the corner.
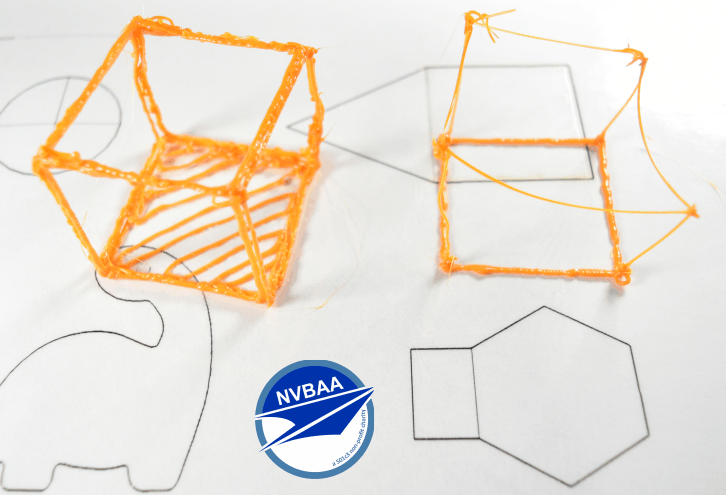
Now try creating each face of the cube. You should have a total of six squares. Connect the edges of the squares to create the cube. You can use the heat of the nozzle to fuse the edges or add more filament if needed. Once it is complete, which of these cubes is sturdier?
BASIC SHAPES
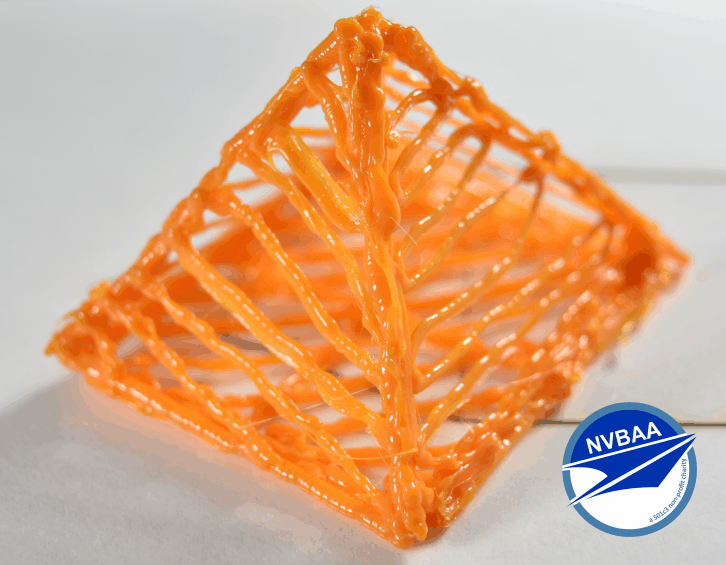
Now that you know some of the basic techniques, it’s time to draw some basic shapes! Here you can experiment in designing your shapes. Try visualizing or sketching the shape first. Think about how the 3D pen works. What can it do and what are its limitations? We provided a sample image of your first shape. See how many you can create!
• Square Pyramid
• Hexagon
• Triangular Prism
• Cylinder
• Cone
• HINT: Think of a self-serving ice cream cone!
SECTION 3
STEP 6: PROJECTS
Finally! After what seemed like forever, we have now reached the projects sections. Now that you have some knowledge of the 3D pen and how it works, use it to bring your imagination to life! These projects are meant to be a template for you. Be creative and add your twist!
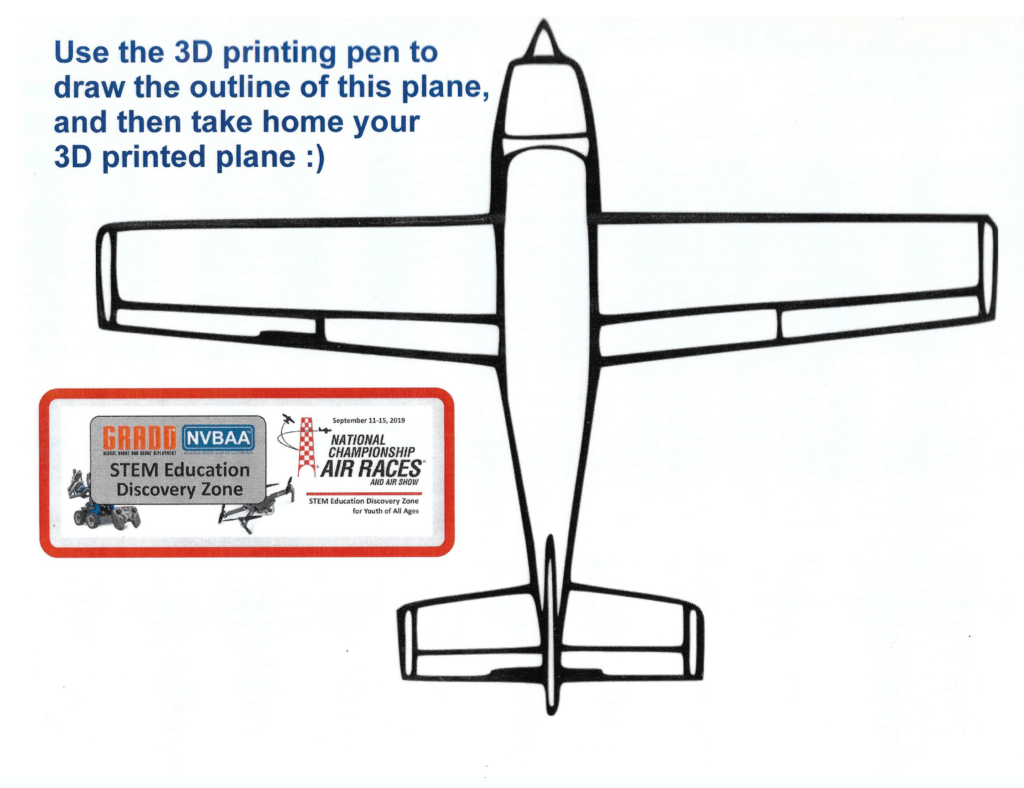
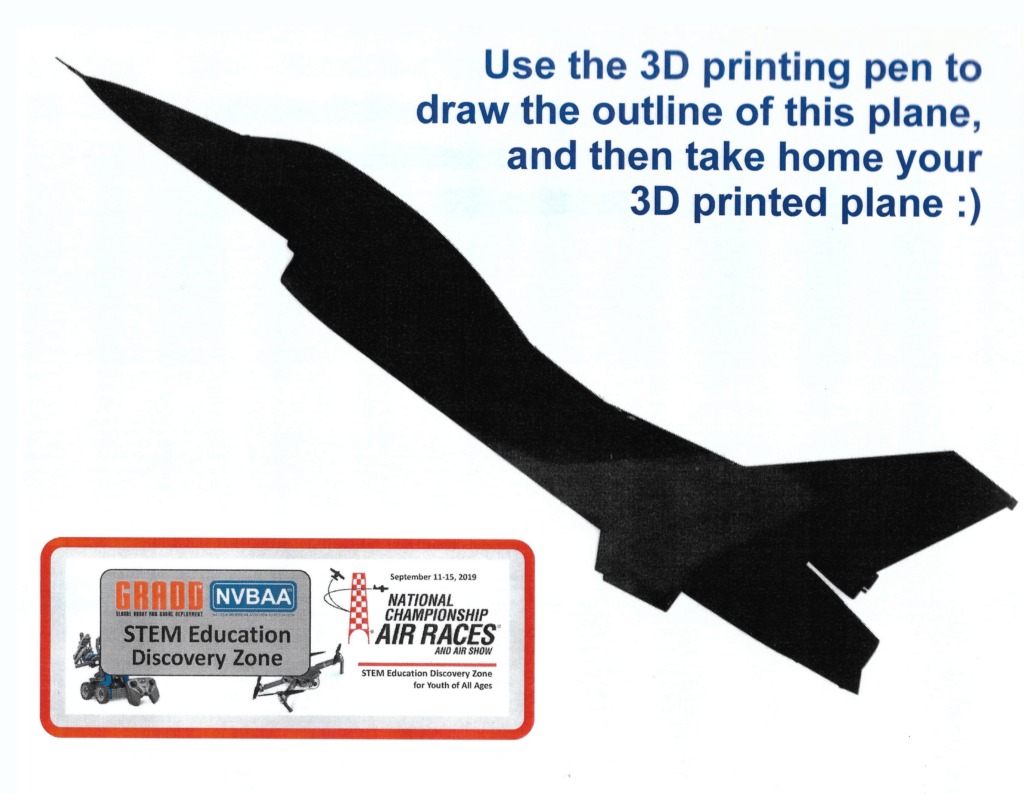
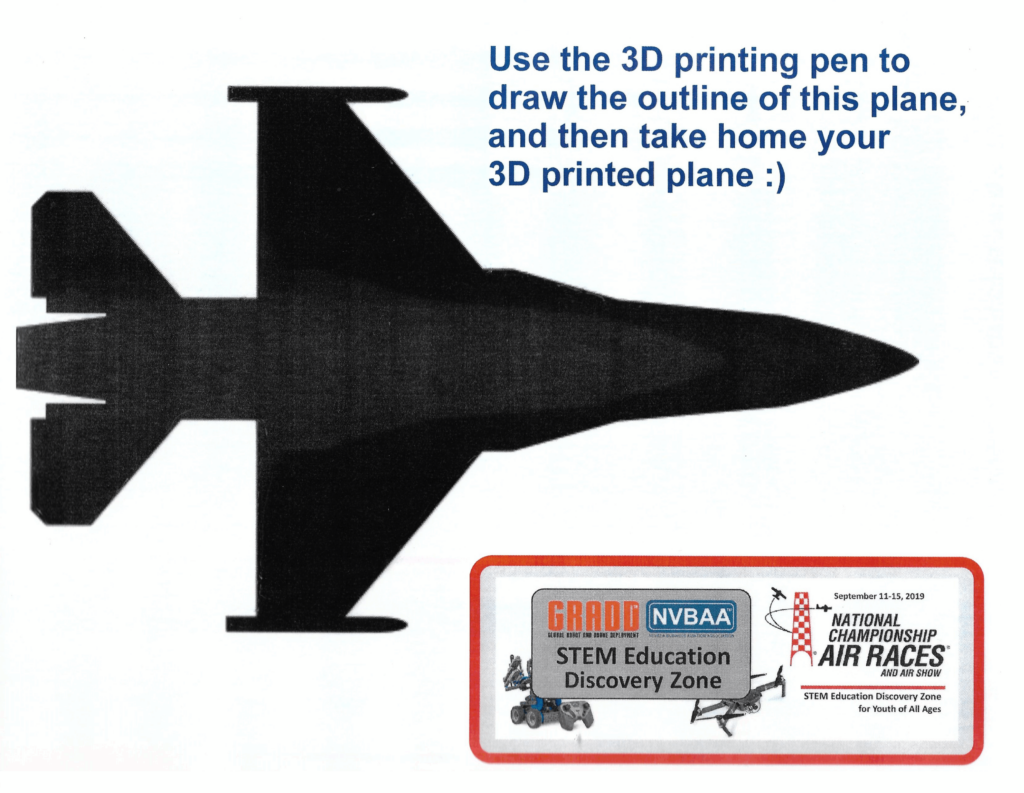
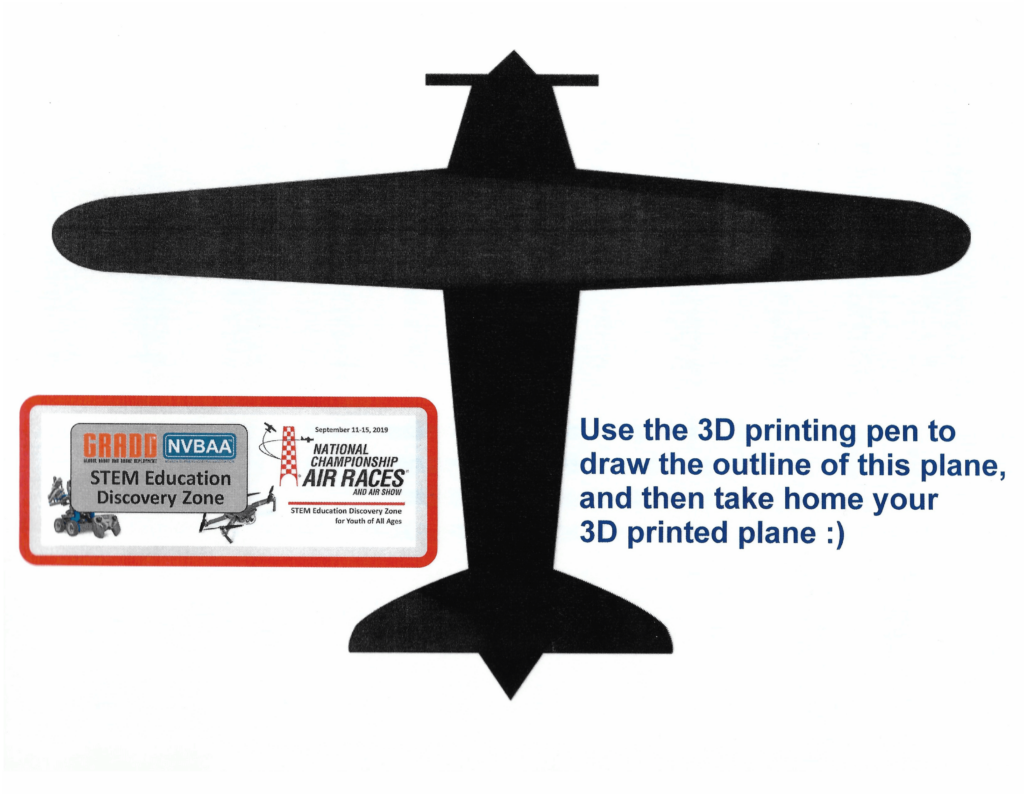
3D Plane Templates – Easy
let’s start with some easy and basic 2D templates.
• Materials
• Templates
• 3D Pen and Filament
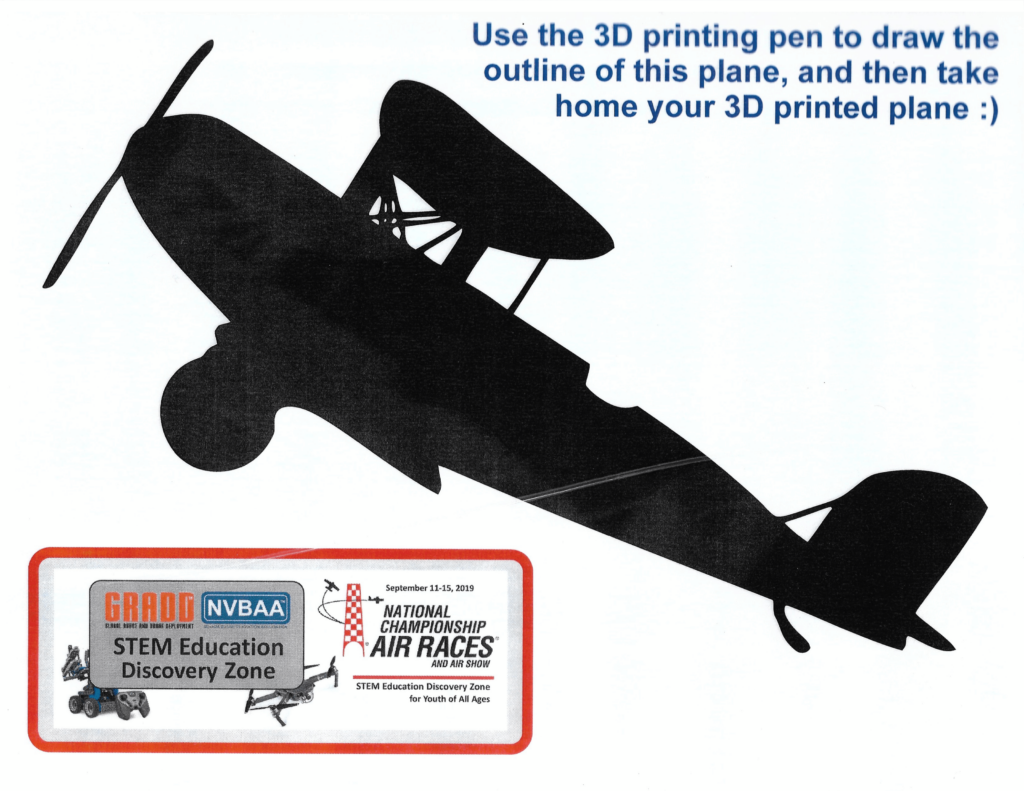
• These airplane templates are not only fun but also strengthen your practice of supporting infill. You can experiment with different types of support infill. Here you can master the diagonal infill or experiment with a crosshatch infill. As the name implies, the infill lines will cross over each other providing stronger support.
• After selecting from one of the templates, remember to start with a nice clean outline of the template. Then fill in the area with a support infill. If you want to go with a “coaster” design, it would be best to fill in the inside of your print completely.
• If a section did not come out right, no worries! Just let cool down and snip the section out and try again.
3D Pencil/Tool Holder – Intermediate
• Materials
• Cup
• Masking Tape
• 3D Pen & Filament
• Take your cup and cover the outside with masking tape. You’ll want to cover one of the bases to create a bottom base for your 3D printed pencil cup.
• Be wary of using plastic cups. Because of the heat of the nozzle, spending too much time in one area could result in melting the cup and disfiguring it.
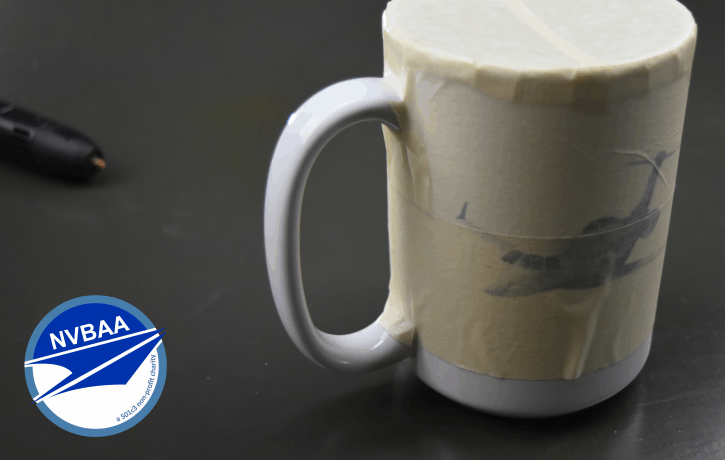
• Begin by drawing the “edges” of your cup. Make sure to connect both top and bottom with a thick line straight across. This will prevent any shifting of your print. Then continue with your base. Try to aim for a stable clean base. Any extra filament may make the base of your 3D printed cup uneven when flat.
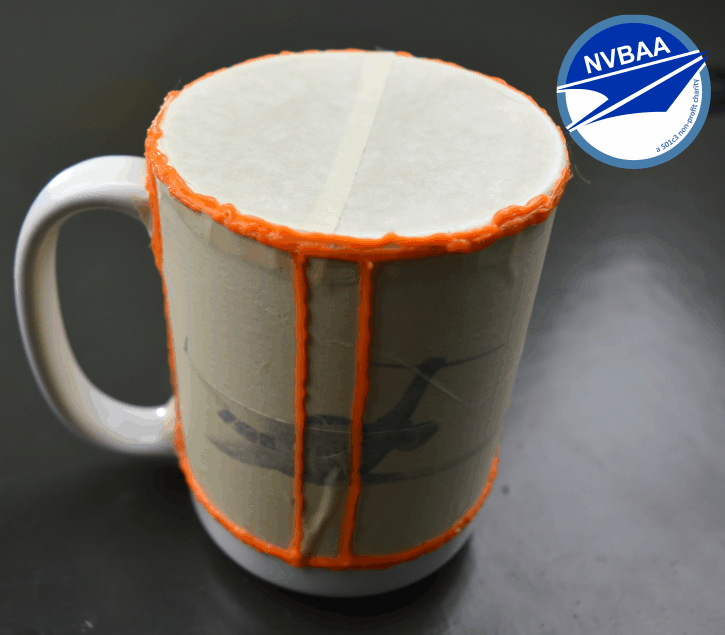
• Once the outline and base are done, you can sketch your drawing with a pencil. It’ll help with curved surfaces. If you want to freehand it, by all means! This is where you get creative!
• Once you are done, simply peel away your print from the cup. If the edges of your cup chip off or break, you can always weld the parts together with the heat of the nozzle.
3D Phone Stand – Intermediate
• Materials
• Template
• 3D Pen & Filament
• Start by drawing the first face of your print. Depending on your design, make sure to thicken the top portion of your phone stand. Repeat this process.
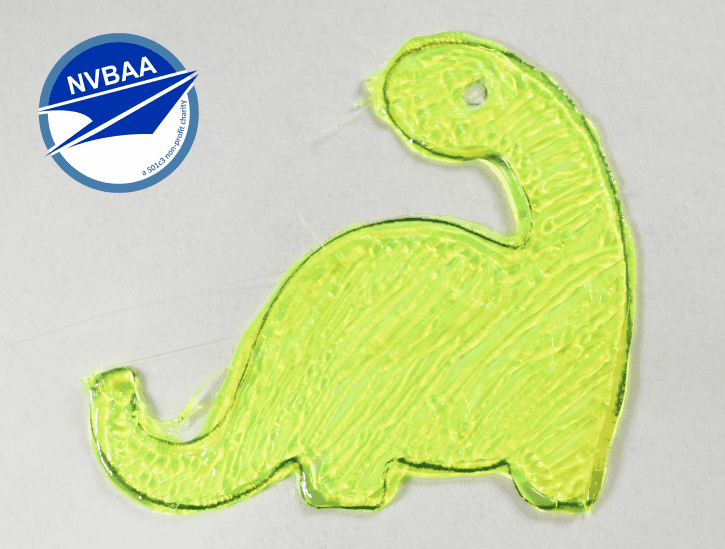
• Now that you have both sides, create a lip/tab at the bottom of your phone stand, pictured below. This will make it easier to work on the print. Do this to both sides.
• Take a look and notice where to draw the tabs. The tabs will be in between the sides of your phone stand.
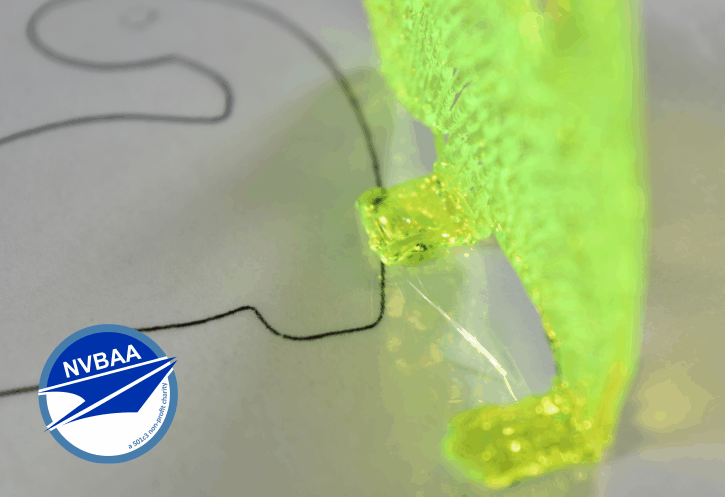
• Once that is complete, merge the tabs with more filament. Go side-to-side as if creating a wall. Depending on the complexity of the print, the bottom base should suffice in keeping the phone stand sturdy. You can always add more support to your print.
3D Phone Case – Advanced
• Materials
• Phone
• Masking tape
• 3D Pen & Filament
• Begin by taping up your phone. Some phones have a glossy back making it difficult for the filament to stick to the phone. With masking tape, you’ll be able to have the filament stick.
• Make sure to mark the areas where you don’t want filament such as the camera, power port, etc.
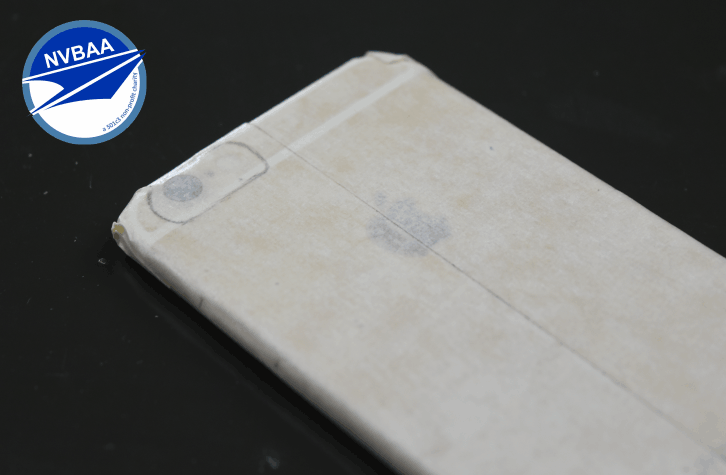
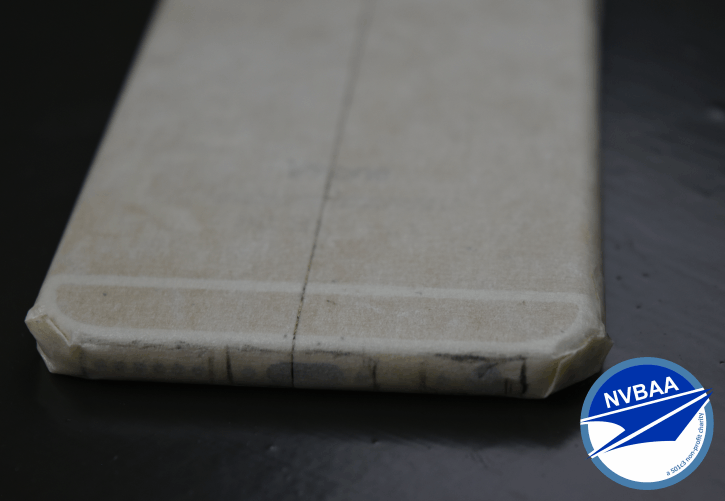
Outline is traced in pencil
• Once you have the outline of your phone and your drawing, begin to fill the inside. Make sure to avoid filling in the top of your phone. As you print, the plastic filament begins to shrink as it cools down. The top gap will allow it to slip out.
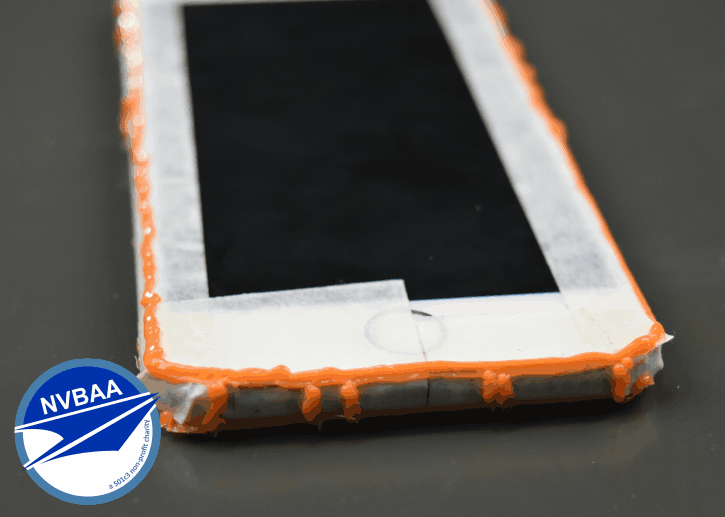
• Once the case has some definition, slide out the case to give it some more support to its edges, as these are its weak points. The case should have enough support to keep it together but with some flexibility.
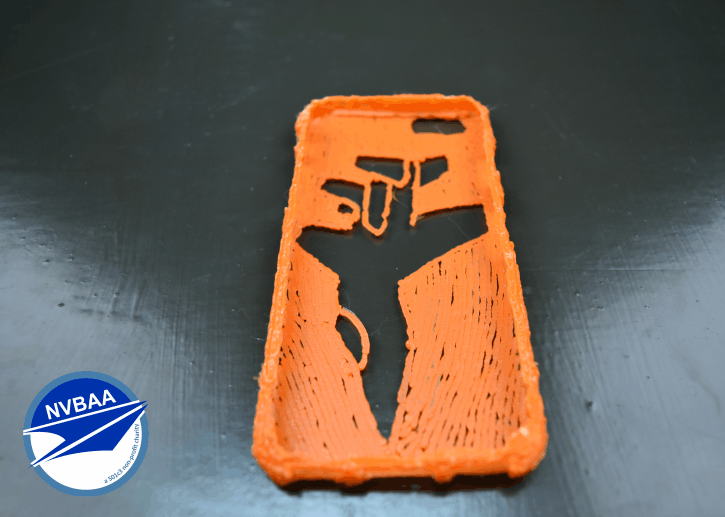
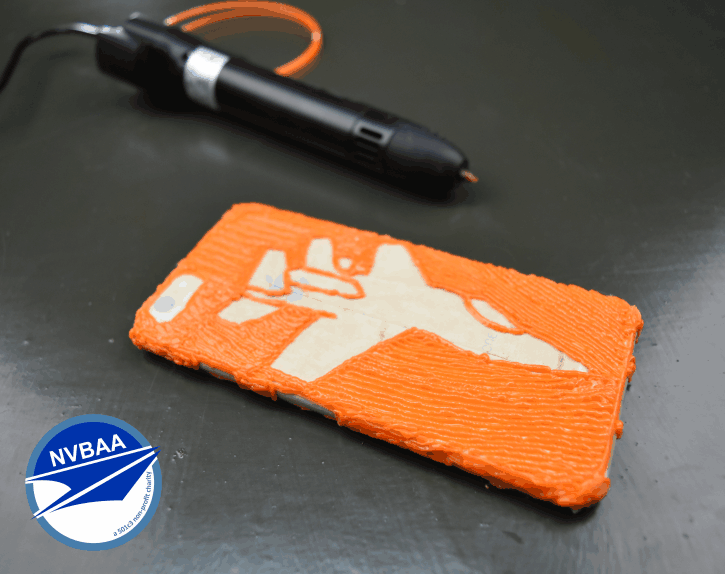
• Once that is done, slide the case onto the phone and proceed to fill the top. When done, remove the case from the phone. If it’s a bit loose, add some lines to the edges of the top screen. It’ll become a Snap-on case.
Course Conclusion
Wow! That was a lot of things we went through. Just look at all the 3D prints you’ve created. If your 3D prints didn’t come out as you expected, don’t get flustered. Like all things, and especially in STEM careers, there are some things that cause us to get frustrated and abandon a project. The key thing is to practice and to push forward. If this was your first time with a 3D pen, there was some difficulty in keeping the filament from flowing everywhere. But as you continued through these projects, you may have noticed better control of your 3D pen. We hope you take these lessons and continue to further improve your style of 3D printing.


